Before choosing a DIY tool for 2026, talk to Sparrow Leads!
Our Design Process
Creating a Resume Builder in Power Apps
Published: Jan 4, 2020 / Updated: Jul 30, 2024
There are three main parts to creating a resume builder in Power Apps. You will be learning PowerApps, SharePoint, and Power Automate (formerly Flow) which allow the user to create, edit, clone and delete resumes, as well as email a resume in PDF format. For the PDF version of the resume, you will need to know some HTML because we will use Power Automate to convert our data into HTML then to PDF.
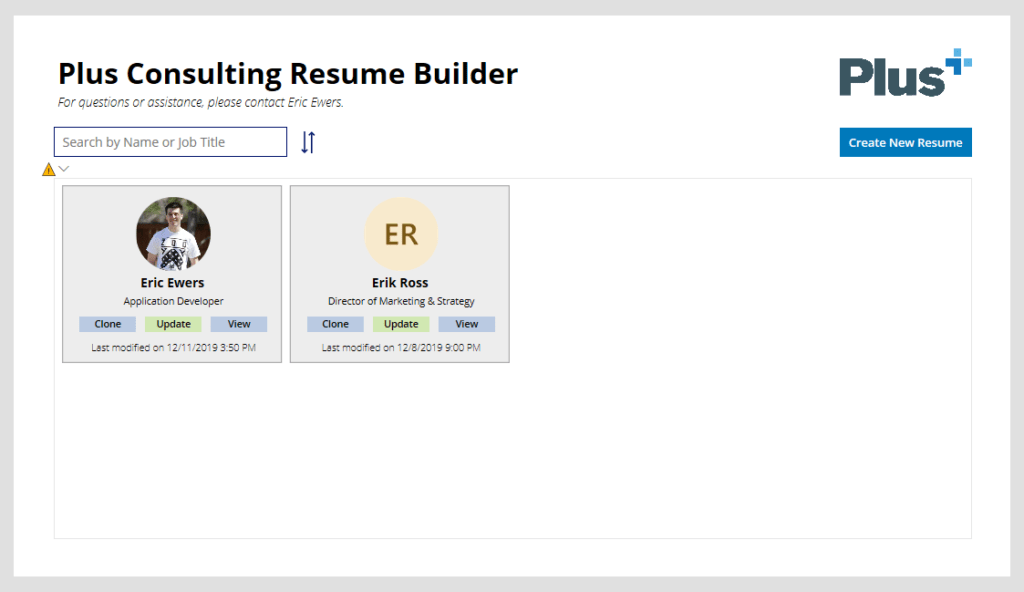
The final product looks something like this.


Before we begin, I want to stress the importance of naming elements and organization. I prefer to use camel case for most of my elements. This ensures you can reference your code as easily as possible, so please come up with a naming convention and stick to it!
Part 1: SharePoint
First, let’s create a new list in SharePoint to use for storing the resume data. I named my list “Resumes” and added some basic columns to start.
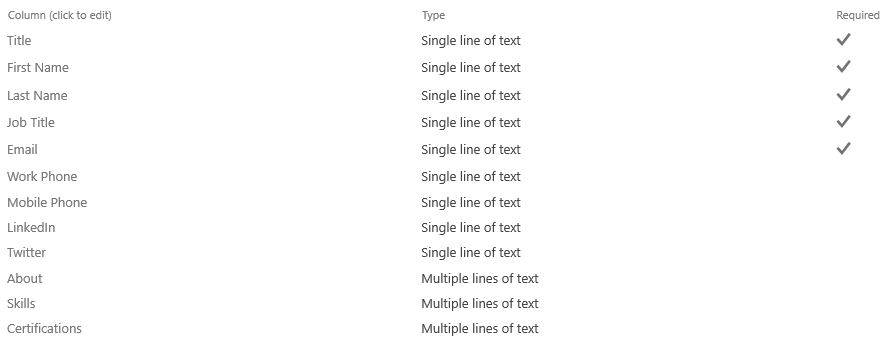
Once you have a SharePoint list created, you are ready to move on to Power Apps!
Part 2: Power Apps
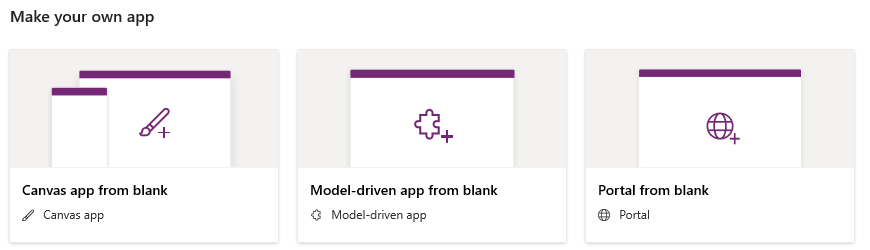
Create a new Power Apps “canvas app from blank”.
Your first screen should be added for you already. This page will consist of a gallery, some text labels, text inputs, buttons, and images. For the main elements, I have some text, a search box with filter icon, company logo and a button to create a new resume.
The “Create New Resume” button’s “OnSelect” property sets a global variable named “NewResume” to true, creates a new form called “ResumeForm”, and navigates to the Edit Screen. We will get to this further in the tutorial.
Set(NewResume, true); NewForm(ResumeForm); Navigate(EditScreen)For the sort button next to the search box, we simply toggle a variable named SortDescending1 between true/false. Note that this is not a global variable and will only work on the current screen.
UpdateContext({SortDescending1: !SortDescending1})Gallery
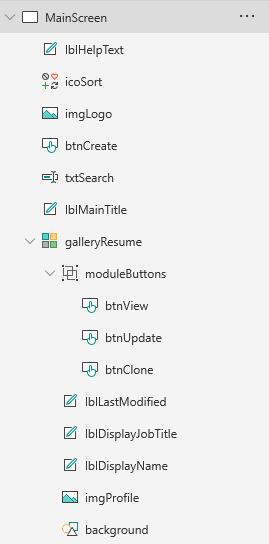
Once you create your gallery, it will ask for a data source. This will be the SharePoint list you created in step 1. For my gallery, I chose to create a 4-column layout consisting of an image, three text labels and three buttons.
User Image
For our user image, we will be using the Office365Users connector. The “Image” property of our image will find the user by email and if the user has a photo, display it…otherwise show a default image.
If(Office365Users.UserPhotoMetadata(ThisItem.Email).HasPhoto,Office365Users.UserPhotoV2(ThisItem.Email), SampleImage)Text Labels
Below is the “Text” property of the two text labels, respectively. “Title” is a default column, so I will be using it as the resume title. Even though my example image above shows the users name, this is really the title column. This ensures that when we clone resumes, we can set a title and distinguish between resumes.
ThisItem.Title
ThisItem.'Job Title'
Update Button
The following code is for the “OnSelect” property. If NewResume is true (i.e. we clicked the “Create New Resume” button), then set NewResume to false, then reset the form and navigate to the Edit Screen.
If(NewResume, Set(NewResume, false); ResetForm(ResumeForm)); Navigate(EditScreen)
This completes the main screen. As mentioned before, I like to name files descriptively, so that referencing them is easier. An example is shown below.
Edit Screen
Now we move on to our edit screen (which also acts as our create screen). This screen consists of a text label, four buttons (1 hidden), and a form.

The “Create Resume” label at the top will dynamically change based on if we are editing or creating a resume. Set the “Text” property to change the text based on the boolean value of NewResume.
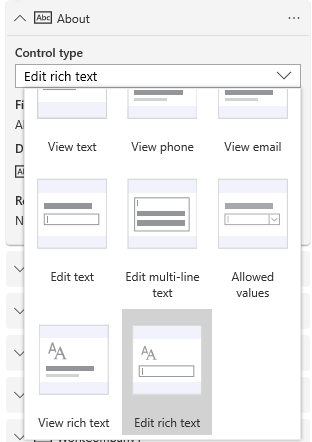
If(NewResume, "Create Resume", "Edit Resume")Now create a new form and set the DataSource to your SharePoint list. You can pull in all the fields you previously created and choose which to include in your form. For any multi-text fields, you will want to edit the field and select “Edit rich text” as the control type.
Buttons
There is much to look at here, so I highly suggest reading the documentation to learn more about these functions. The Save/Send button will do the following:
1) Patch to update record data in our SharePoint list
2) Set to set the value of a global variable named “LastRecord” (which gets the ID of the last record entered so that we can send the ID to Power Automate)
3) Run the “SendResume” Flow using the last record ID
4) Reset the form if creating a new resume
5) Navigate back to the main screen and refresh the data.
The “OnSelect” property looks like this.
Patch(
    Resumes,
    If(
        NewResume,
        Defaults(Resumes),
        galleryResume.Selected
    ),
    {
        Title: txtTitle.Text,
        'First Name': txtFirstName.Text,
        'Last Name': txtLastName.Text,
        'Job Title': txtJobTitle.Text,
        Email: txtEmail.Text,
        'Work Phone': txtWorkPhone.Text,
        'Mobile Phone': txtMobilePhone.Text,
        LinkedIn: txtLinkedIn.Text,
        Twitter: txtTwitter.Text,
        About: txtAbout.HtmlText
    }
);
Set(
    LastRecord,
    If(
        NewResume,
        First(
            Sort(
                Resumes,
                ID,
                SortOrder.Descending
            )
        ),
        galleryResume.Selected
    )
);
SendPlusResume.Run(
    LastRecord.ID
);
If(
    NewResume,
    ResetForm(ResumeForm)
);
Navigate(MainScreen);
Refresh(Resumes);
The Save button uses similar code, so you can simply copy/paste the above, then remove the following.
Set(
    LastRecord,
    If(
        NewResume,
        First(
            Sort(
                Resumes,
                ID,
                SortOrder.Descending
            )
        ),
        galleryResume.Selected
    )
);
SendPlusResume.Run(
    true,
    LastRecord.ID
);
The cancel button is simple, as it just navigates back to main screen.
Navigate(MainScreen)For the hidden delete button, we want it to navigate to the main screen and refresh the data set after removing the current record from the SharePoint list.
Navigate(MainScreen); Remove(Resumes, galleryResume.Selected); Refresh(Resumes)We are now ready to setup our flows inside of Power Automate. Start by clicking on the “Action” tab at the top of Power Apps, then Power Automate, then “Create a new flow”. Follow along in the next part.
Part 3: Power Automate
We will be creating two separate flows: one for sending/emailing our resume and the other for cloning our resume.
Flow #1: Send Resume
Here is a quick overview. We previously set the trigger inside Power Apps. The flow then gets the fields from our SharePoint list, as well as the user profile photo. It sends this data to a string variable (in which I have three). A plugin, Encodian, will also be used to correctly convert HTML to PDF, as the default provided by OneDrive doesn’t work the way we want. Afterwards, it stores that PDF on SharePoint so that we can view it later, and finally emails it to the user.
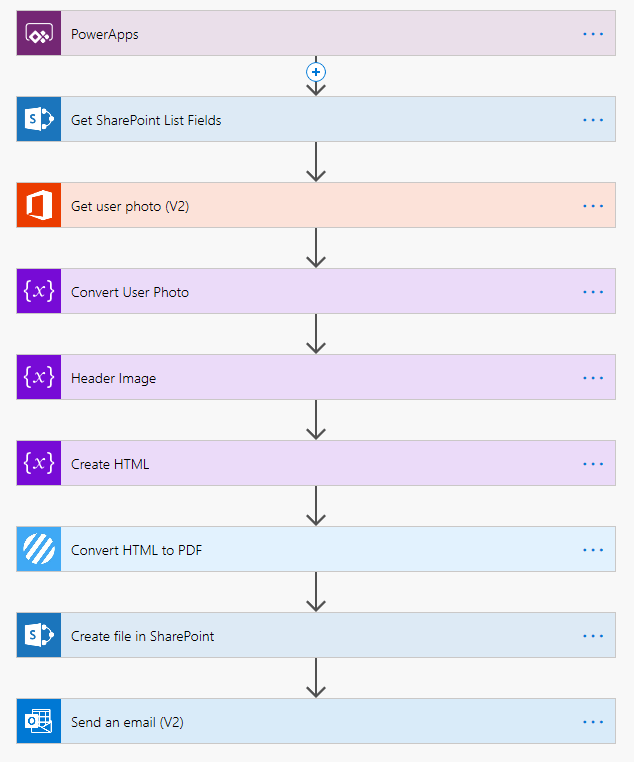
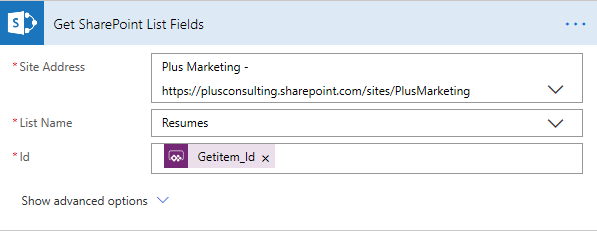
Get SharePoint List Fields (Get item)
Get User Photo

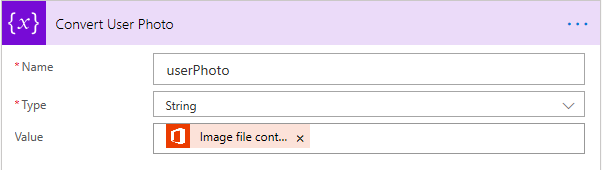
Convert User Photo (Base64) (Initialize variable)
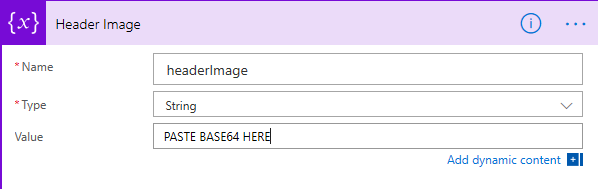
Header Image (if you have one) (Initialize variable)
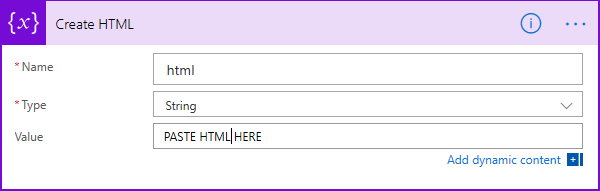
Create HTML (Initialize variable)
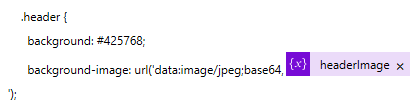
After pasting your HTML code, you can use the user profile photo or header image like so (CSS and HTML examples)

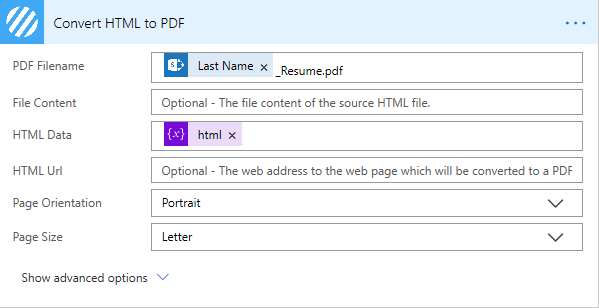
Convert HTML to PDF (Encodian)
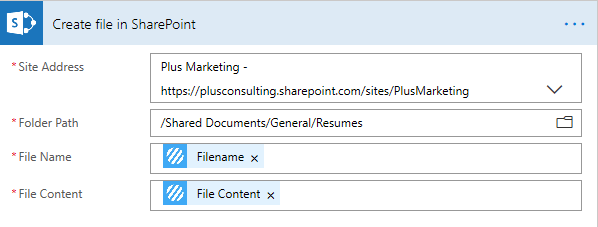
Create file in SharePoint
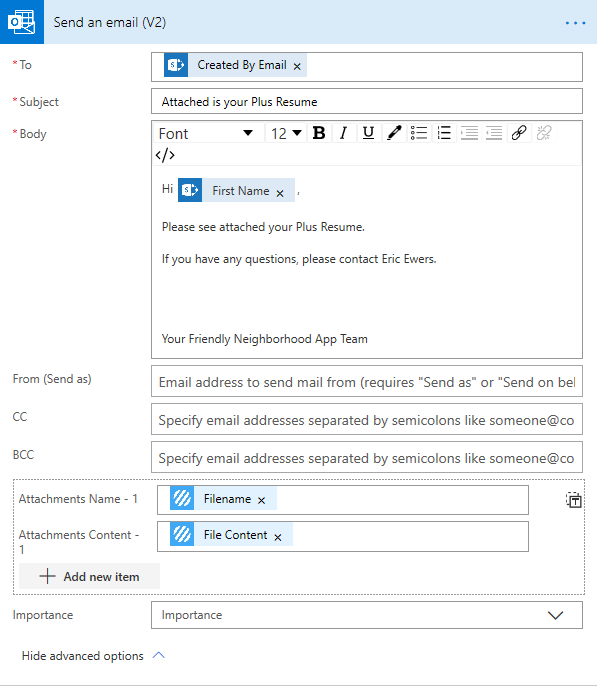
Send an Email
Flow #2: Clone Resume
Here is another overview. We set the trigger in Power Apps, get the SharePoint fields, duplicate the record, and report back to Power Apps.
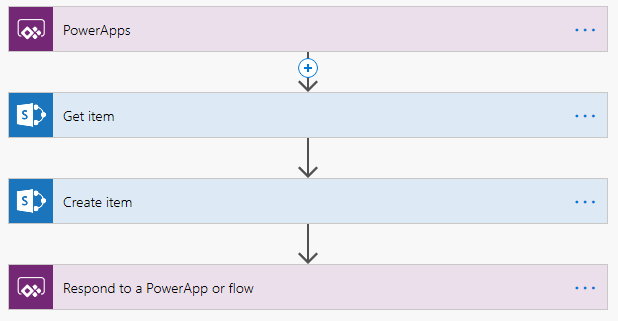
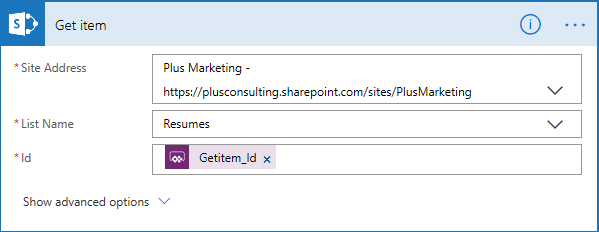
Get item
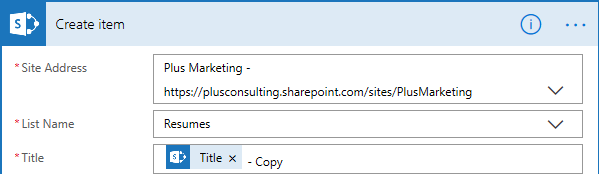
Create item
Make sure to fill in any fields you might want to duplicate. Then change the Title field to append ” – Copy” to the end.
Final Notes
Back in Power Apps, edit the “OnSelect” property of the Clone button, replacing “NameofYourFlow”.
NameofYourFlow.Run(ThisItem.ID); Refresh(Resumes)And finally, edit the View button to launch the web URL of your SharePoint file that was created, making sure to include your naming convention so it knows which resume to point to.
Launch("https://plusconsulting.sharepoint.com/sites/PlusMarketing/Shared%20Documents/General/Resumes/"&ThisItem.'Last Name'&"_Resume.pdf")Partial credit comes from Richard Burdes which allowed me the idea to create this for my employer.
AI builds what you ask for. Experience catches what you didn't.
We handle the decisions, setup, and ongoing care — so nothing important gets missed along the way.